Installation#
Minimum System Requirements#
Download the Add-in#
SynMax Commodities Addin: [version 2.0.3] (latest, stable)
Synmax Energy Addin: [version 1.0.62.0] (deprecated)
Note
We recommend all new users use version 2.0.0, and existing users migrate to 2.0.0, as it contains the latest Hyperion 4.0 and Vulcan 2.0 functions.
Users currently running SynMax Energy (1.0.62.0 or earlier) may continue to use it alongside SynMax Commodities.
Version 1.0.62.0 is deprecated. It will receive bug fixes but no new endpoint releases.
Installing the Add-in#
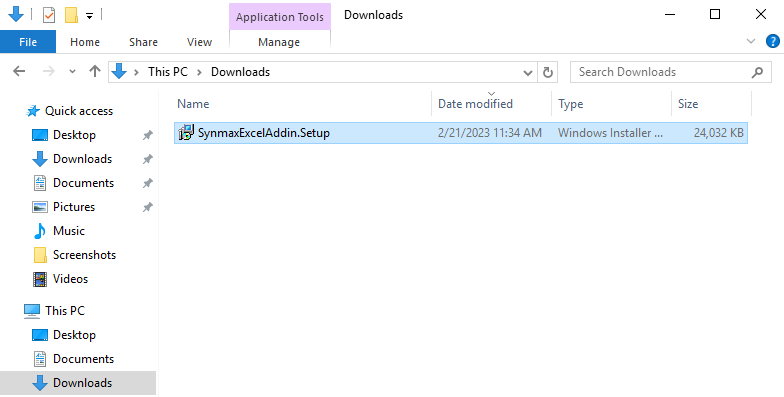
Download the latest version of the SynMax Excel Add-in from the location provided by your SynMax representative.
Double-click on the downloaded SynmaxExcelAddin.Setup_v1.0.##.#.msi file.
A security warning may appear. This is normal. Click “Run” to continue. The installation wizard will appear.

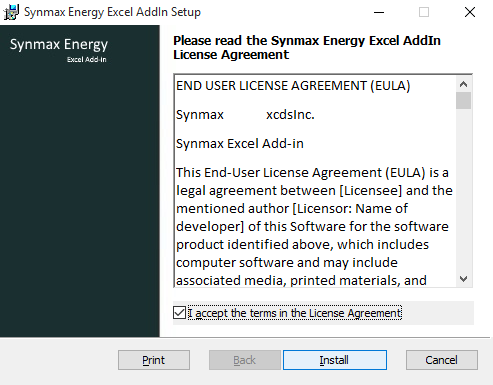
Review the license agreement, and if you agree to the terms, click the “I accept the terms in the License Agreement” radio button.
Note
Starting from version 1.0.59.0, users with administrative privileges can choose a custom installation location for the SynMax Excel Add-in.
To specify a custom location, click Advanced.
If you are not an administrator or do not wish to change the default installation location, simply click Install.
If you are an admin user, you can choose whether to install the add-in for your user account only or for all users on the computer. Select the appropriate option and click Next to continue.
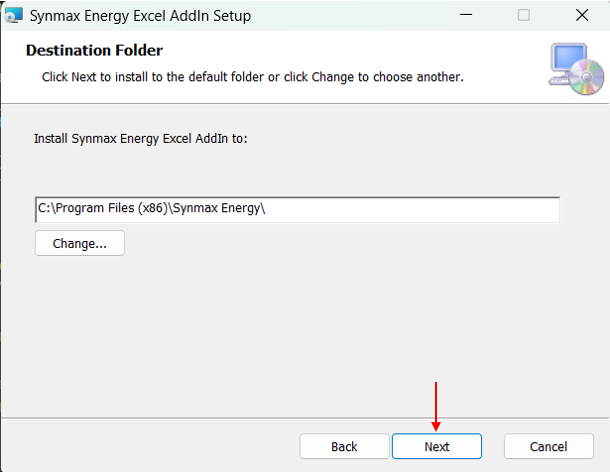
Specify the desired installation path for the Excel Add-in, then click Next.
Ensure that Synmax Energy Excel AddIn is selected in the list of features. Click “install” to start the installation process.

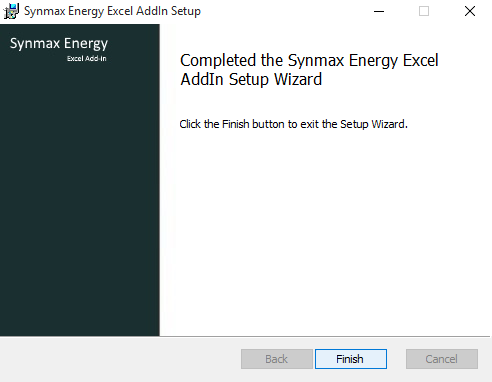
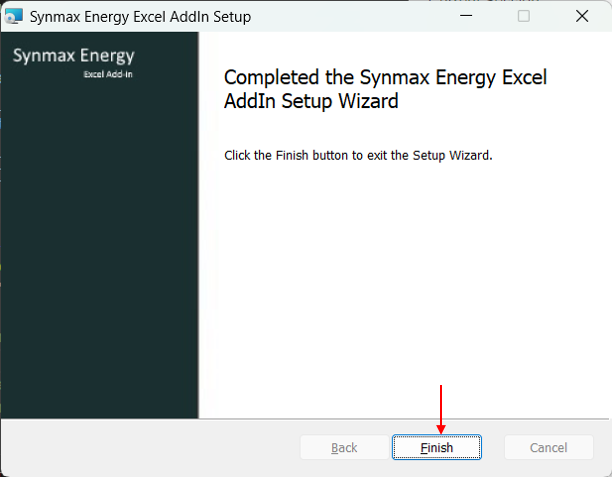
Once the installation is complete, click the “Finish” button to exit the installer.
Note
If case the setup wizard fails to finish, try uninstalling any x64 versions of VC++.
The steps required to install this add-in may slightly differ depending on your version of Microsoft Windows and Excel.
Enabling the Add-in in Excel#
Open Microsoft Excel.
Click on the “File” tab at the top left corner of the screen.

Click on “Options” in the left-hand menu.

Click on “Add-ins”.
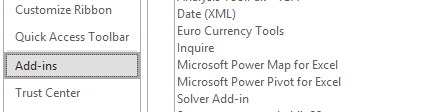
In the “Manage” dropdown menu at the bottom of the screen, select “Excel Add-ins” and click “Go”.

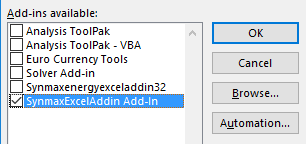
If the SynMax Excel Add-in has not already appeared in the list of available add-ins, click the “Browse” button and navigate to the location where you installed the add-in.
Select the SynMax Excel Add-in file and click “OK”.

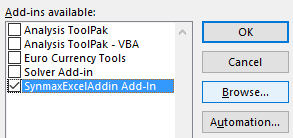
In the list of available add-ins, make sure the checkbox next to the SynMax Excel Add-in is checked and click “OK”.
If a new tab labeled, “SynMax Energy” has not appeared on the ribbon, close and reopen Excel for the changes to take effect. This tab will contain all the functions associated with the SynMax Excel Add-in.

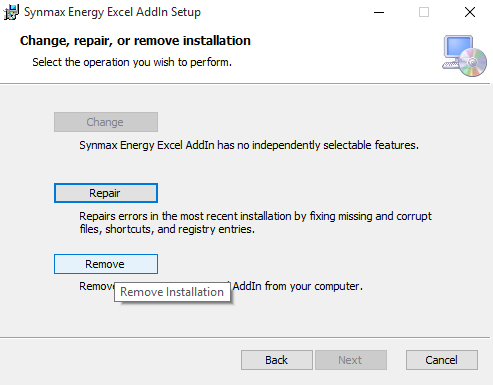
Uninstalling the Add-in#
Double-click on the downloaded SynmaxExcelAddin.Setup.msi file.
A security warning may appear. This is normal. Click “Run” to continue. The installation wizard will appear. Click the “Next” button to continue with the uninstallation.
- Click “Remove”. Click “Remove” in the next window. This will completely remove the add-in from your computer.